Showing posts with label etsy how-to. Show all posts

Wednesday, October 12, 2011

Etsy How-To: Free Advertising Through the Holidays

Now, I can't say from experience that I have used tons of paid advertising.  I have paid for advertising and been pleased with the results (another post sometime), but I have also sought out lots of avenues for free advertising and that's what I am going to talk about today mostly because it is HOLIDAY SEASON!  It is time to get your shop out there so people in the holiday shopping mode can find you.  So today I present you with 10 ways to advertise for free throughout the Holiday Season.  Make it your goal that by November 1st, you will try at least 5 of these.  I promise it will bring you more traffic and the more you work at it, the more traffic and sales it will bring!

1)  Start a Facebook Page for your business.  There are lots of how-to's out there.  Also consider Twitter, Flickr, and Tumblr.  Get your voice heard and your products seen!

2) Read blogs in your niche and comment on them with your shop link.  Aka if you sell wedding decor, start following some wedding blogs.  Don't spam them with your comments, but try every day to leave a comment on at least 3 blogs with insightful thoughts and leave a link to your shop with the comment.  People will click and be interested.  They were already somewhat interested because they were reading about weddings (or whatever your subject might be).

3) Start a blog.  This one may sound like a lot of commitment and it is more than the others, but it's always great to get your web personality out there.

4) Don't want to start a blog or already have one?  Doesn't matter which, seek out guest blog spots.  It is a great way to get your name out there so start contacting blogs that feature writers or DIY projects from other artists and send them an email with your ideas for a guest post.

Vintage Book Heart Paper Garland
5) Get your products featured on blogs.  Contact blogs that feature items like yours or in your style.  Give them a 3-4 sentence blurb about your shop and your product and include 2-3 great photos.  Follow up if you haven't heard back in a week.

6)  Get Pinterest and start working on building up a great inspiration board.  Include a couple of your items in your boards, but not too many.  You don't want to be a spammer.  (See how to grow your business with pinterest here.)

7)  Leave business cards sitting around in public places.  People are bound to look you up.  If you include a coupon code on the back, they are even more likely to purchase something.

8)  Go for wholesale accounts now.  If you are considering wholesale (which you should at least consider), this is the time for sales and the time that brick and mortar shops will really be looking for great products for holiday sales.  You have great products!

9)  Come up with new items and tell people about them through Twitter, Facebook, your blog... every avenue you have.

10)  Talk about your shop to everyone you know.  You are your biggest advocate and you should be proud that you took the time and energy to start your own business and nurture it!  Your shop doesn't have to be the only thing you talk about, but people should know you do it!

Now commit a bit of time every day to work on these ideas.  Free doesn't mean you don't work at it.  You will have to work even harder than paid advertising, but if you even commit 10 minutes a day to building a Facebook page, you will see a difference! 

Happy free advertising!

Wednesday, September 21, 2011

Etsy How To: Make Your Packaging Matter


I've read A LOT about packaging your products for shipment for websites like Etsy and Big Cartel.  It's kind of a confusing relationship for me.  I could spend hours developing great packaging and then spend 30+ minutes on perfectly wrapping and shipping an item and then go wait 20 minutes at the post office and for what? Well one argument (and in a business sense definitely the strongest argument in my opinion) is that this great packaging is to attract returning customers.  AKA a customer orders from you and not only gets a great product, but also gets a great package, enticing them to return again.  People love to be loved.  You took the extra step to show your appreciation.  My question, however, is how many return customers do you really get because of your packaging?

You may disagree (and please do if your experience proves otherwise), BUT I think that unless you are just haphazardly throwing stuff into an ugly box that will not hold up in the mail, you probably aren't going to attract customers because of your packaging.  Or at least not so many that it would be worth your time.  Think about it... You have probably ordered something from amazon.com.  Boring packaging blah blah blah.  Great product.  BUT---VERY diverse product availability.  You buy again (probably something different).  And then buy again because of the diversity of products.  It's the product that sales not the packaging.  


I say this because, while I think that cute packaging is awesome and to an extent, valuable, you are going to attract customers and create return customers because of the quality and diversity of your products.  If you are spending hours a week creating packages and only making a few sales- rethink your strategy.  Focus that time on creating new and different products for your store.  THIS is what attracts customers.   Amazon has thousands of different products (obviously you are not going to), but that's why people shop there.  They can find what they need.

Think about that for your store.  Do you sell wedding decor of all kinds?  Think about EVERY aspect of a wedding... pew markers, seat assignments, centerpieces, guest book table, gift table, cake, bridesmaids... and the list goes on.  Do you have something that a bride could incorporate into all of these aspects of a wedding?  If you don't, strategize.  Do you want to expand your products?  Maybe your answer is yes.  Great!  Work on adding one new item a week for a month or so.  If you feel overwhelmed by expanding your product, that's okay.  You already have a design of whatever it is that you create, so think about providing new color schemes or sizes.  This will increase views, traffic, and sales. Offering diverse products in diverse price ranges is key to a successful shop.


But back to packaging... I do think that packaging is worth it if you have the time and resources.  For example, 
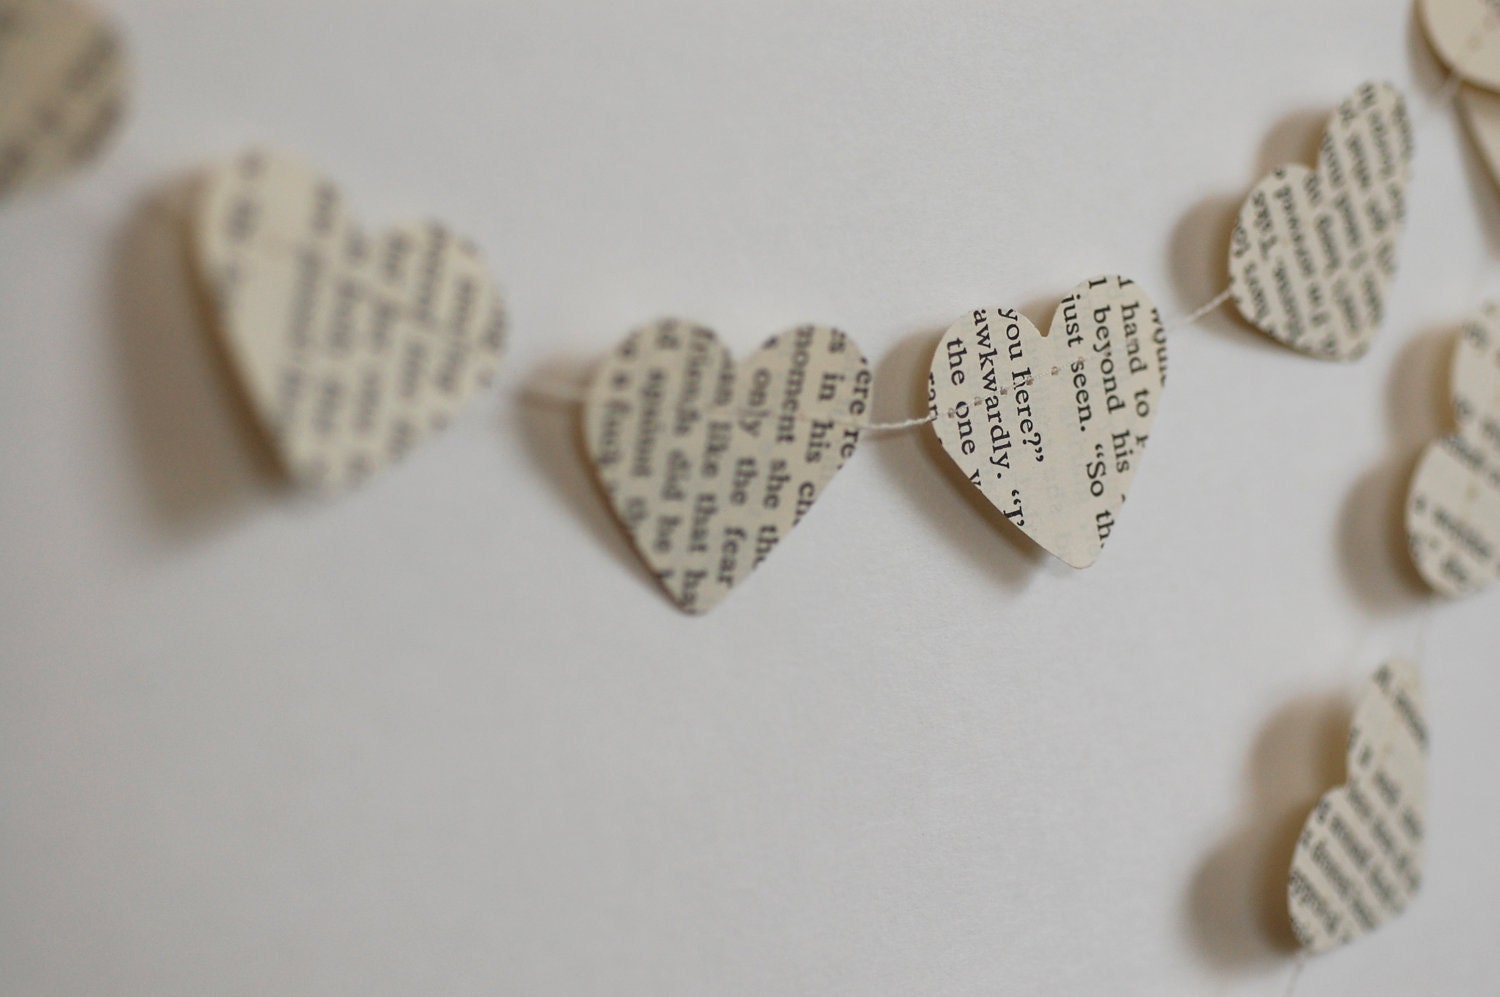
I like to include a little freebie.  I include a mini paper garland if they order invitations.  I include one of my blank greeting cards if they order a paper garland.  And so on and so on.  Nothing too too fancy, BUT notice that I'm not including an extra of what they orderedI am introducing them to a new product that they might be interested in in my shop.  If they like it, they will come back.  And they will appreciate the gesture.  I also include a handwritten note and a copy of the invoice (invoice is a definite must).  Then I stamp a little "Thanks so Much" on the outside of the envelope and send it away.  I sometimes include business cards... it's probably a good idea for me to include one every time, but I think a freebie and a note are better communicators of your customer service.  I pass out business cards to people that are interested in buying something... not those who have already purchased. It's not a bad idea to include them though.


This may seem like a lot in my package... and like I said... I can't say I disagree, but if you do ONE THING (besides the invoice) make sure your logo is on/in the package somewhere.  You can see in my personal note that I have it on the front.  My website address is on the back.  The more people see it, the more they remember.  These notes are SO easy to make... just pick up some blank note cards... you can get them at any craft store and just print your logo to the front... or draw it.  And there you have personalized stationary for less than $10 for sure.  Those boring Amazon boxes? They say Amazon everywhere.  Return address... on the sides... on the invoice.  You don't have to go that overboard--- remember products sale, not packaging.  Maybe consider investing in a custom rubber stamp of your logo so you can easily stamp it everywhere.  They are fairly inexpensive and can be used everywhere!


Other ideas to consider:
**Instead of packaging every single item like it's a gift, make it pretty, but then offer free gift wrapping as an option for gifts.

**Lots of articles that I have read say that traditional business cards are outdated.  People just toss them in the junk pile.  While I've got them, consider making pins, pens, magnets, or pocket mirrors that people will use and see often.


**Cellophane bags are cheap and easy for packaging.  I wrap my paper garlands on a piece of kraft paper card stock, stick them in a cello bag and then staple another piece of paper on top that I draw my logo on.

** If you don't want to go the personal written letter route, or it's just a busy week.  Write a little note on the bottom of the invoice.

** Some people like to include a coupon code for return customers.  I haven't had much luck... with my vintage shop at least.  And people tend to give mixed reviews.  Might be worth trying just to see if it works.

Thursday, September 15, 2011

Etsy Shop Tip: Customize your Facebook Page URL

Last week, we looked at customizing Etsy Facebook pages by adding an Etsy Mini.  If you haven't added it yet, you should!  Check out the tutorial here.   Another great and SUPER easy way to better your social media?  Customize your Facebook URL!

If your url looks something like this:

It's not easy for people to go directly to it.  It's complicated and (no offense) ugly.  People can't remember it and it doesn't look nice and clean as you spread the word about your page and shop.

No fear! Simply go to http://www.facebook.com/username/ and follow the simple instructions to change the url to something like this:


**Bonus Tip** I suggest you make your url the same as your Etsy page for continuity for customers.  If you run into an issue where your shop name is already taken on Facebook-- like me-- try adding "by" and your name.  You can see I added "byallison." It's an easy way to mix it up and still have an intuitive (that's what we like!) name for people to find.

Now that new URL of yours looks so much better!  Beware though, you must have 25 "likes" in order to customize your url so if you DON'T, do about 10 minutes of networking... leave a comment here with your current Facebook Page URL, comment in your teams, drum up some valuable support!  These people may not end up being your customers, but they will help drive actual customers your way.  And no traffic is bad traffic right?  (I hear a discussion for next week....)

Now that you have 25 likes, change that URL everywhere you have it listed!  Make sure you have it in your public profile on Etsy as well so people can easily pop over to the page and be sure to use that page!

Thursday, September 8, 2011

Etsy Facebook Page How-To: My Etsy Button

It's time for some more helpful tips for you Etsy sellers out there!  

Today, I am going to take a look at the monstrous social media outlet known as Facebook.  Social media like Facebook, Twitter, Flickr, and blogs are GREAT ways to reach a lot of potential customers quickly and a great way to give another face to your shop.  You can add more personal details, network with customers and fellow Etsians, etc.  Thus, I HIGHLY recommend creating a Facebook Page for your shop if you don't already have one.  If you don't, it's really easy.  Today, I won't go into that, but you can easily find the directions here. 

 So let's assume you have a Facebook page representing your shop... but what should you put on it and why?  The obvious answer is product photos so customers can learn all about you.  I TOTALLY recommend this and need to add some more to my new Facebook page (it's just a day old for hoop~da~loop though I had another for my vintage shop), but adding photos all the time is time consuming.  You have to find them on your computer, wait for them to upload, add captions..... lots of stuff.

A really easy supplement (notice I don't say alternative) is to add a "My Etsy" button to your side bar on your page.  "My Etsy" buttons create a tab within your page that shows your current Etsy shop with its current products.  Photos and all!  That sounds great!  How do I add it you ask?  

Just follow these simple instructions!

(Before I go further, if you do not have a business page and don't want to create one, you can still add this fun App to your personal Facebook page which you should do!)

1) Search in your Facebook search bar for the "My Etsy" App.  You will be directed to a screen that looks like the screen shot below.  Click on "Add to My Page"

 2) It will ask you what "Page" you want to add your My Etsy to.  I recommend adding it to your business page and your personal page.  For now, I will go with the business page instructions.  It will automatically add it to your page once you select it.  So head over there and click on your new "My Etsy" button (cause we aren't done quite yet).  It's that little orange button on the left hand side bar.
 

 3)  This will bring you to a screen that asks for your Etsy username.  Simply type it in as it appears on Etsy.

 4)  Then choose if you want to include just your shop or your favorites as well.  Because this was my business page, I wanted it to be clear and straightforward so I only added my shop.  Of course, do as you please.  (I always add shout-outs and reviews of other stores on my blog which I link to my Facebook page so I drum in that extra traffic that way.)

 5) Click "Create My Etsy Tab" and there you have it!  Your Etsy store via Facebook with easy to use Share buttons and Facebook networking buttons right there.  This will definitely bring more traffic to your store and more traffic = more sales!  You can check mine out over here.  Do you have a Facebook? Send me the link so I can check it out! 


PS- Did you know that if you have 25 fans on your Facebook page you can customize the web url (web address) to include the funky ID code?  That How-To to come!

Tuesday, August 30, 2011

Etsy Mini How-To: More Traffic = More Sales

Have you ever wondered how to have a little glimpse of your Etsy Store on your blog like so many super technologically advanced people do?  Well guess what... I am not super technologically advanced and I can do it because.... It's super easy!  I have one as a page (see my page tabs below my banner at the top) that has a much bigger view of my store and then a smaller one that's very accessible to the right in my side bar.  This is a great way to advertise your Etsy store for free and a great way to Optimize your Search Engine results.  Who doesn't love a little SEO anyways.  

Check out the demo below! Good luck and send me a link to your new page so I can check it out! 

To add these Etsy Mini's to your blog, simply go to the "Your Account" section of Etsy.


Click on "Etsy Mini" 


Then choose your options.  You can choose to display your store items or favorites, the size of your thumbnails, and the size of your "Mini." chose the "Gallery" 4x3 for my page and a "Thumbnail" 3x2 for my side bar. 


Once you choose your options, you will be given an HTML code. (Sounds scary?  It's not!)  Simply copy this HTML code and head over to blogger.

If you have chosen to add a thumbnail of your shop to your main page, at Blogger, go to your "Design" page and "Add a Gadget."  Choose "HTML/JavaScript" and simply paste your HTML code in the blank given.  Then drag and drop your gadget wherever you want it!


If you have chosen to add a gallery page, simply choose "Edit Posts" at your main blogger page.  Then click "Edit Pages" towards the top of the page to edit a page.  

If you don't have a page set up, click "New Page" and simply add your title, click on "Edit HTML" (instead of "Compose"), paste your code that was copied from Etsy, and Publish your page!


And you're done!!!  This is sure to bring more traffic to your store!